This post contains affiliate links. That means I may earn a small comision if you click on a link and purchase something. This cost you nothing. Read all the legal boring stuff here..
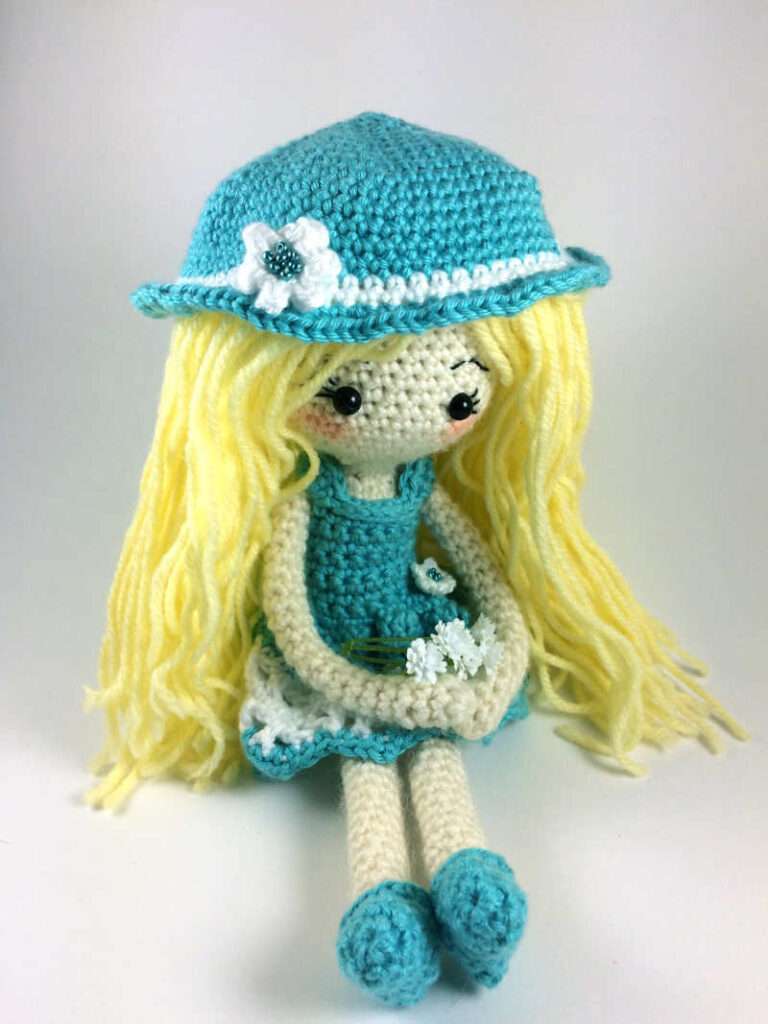
I loved making this crochet doll pattern. I really like that you can change her clothes. The clothes work up really fast and that is my favorite thing about it.
I made Sophie’s Universe and it took 4 years. But I can make a dress in a day or two.
Materials
- One 50g skein of Bergère de France Idéal- Meije
- One 50g skein of sport weight yarn in hair color
- Stuffing
- 6mm safety eyes
- Tapestry needle
- Emboridery needle
- Black embroidery thread
- Thin electrical wire
- Plyers
- Pink Pastel or blush
- Q-tip
- C2/2.75mm hook
Head
R1: 6 sc into a magic ring (6)
R2: 2 sc in each st around (12)
R3: Sc in next st, 2 sc in the following st, repeat from (18)
R4: Sc in next 2 st, 2 sc in the following st, repeat from (24)
R5: Sc in next 3 st, 2 sc in the following st, repeat from (30)
R6: Sc in next 4 st, 2 sc in the following st, repeat from (36)
R7-17: Sc in each st around (36)
Sl st into next st. Cut yarn and fasten off.
Scalp
With hair color, follow pattern for the head but only do R1-7. Sl st into next st, cut yarn and fasten off. Leave a long tail for sewing.
Arms (make 2)
R1: 6 sc into a magic ring (6)
R2-17: sc in each st around (6)
Cut yarn and fasten off.
Legs (make 2)
R1: 8 sc into a magic ring (8)
R2-26: sc in each st around (8)
With the first leg, cut yarn and fasten off. Do not cut yarn with the second leg.
Torso
R1: take the second leg and ch 2. Sc into one of the st from the first leg. Sc into the next 7 st of the first leg. Ch2 and sc back into the second leg in the stitch right by the first ch2. Sc into the next 7 st of the second leg. Mark the last sc. This will be your last st of row one of the torso. (16 sc, 4 ch)
R2: *2 sc into the ch 2 space. Sc into the next 8 st.* repeat **. (20)
R3-4: sc in each st around (20)
R5: Sc into the next 6 st then sc dec. Sc into the next 8 st then sc dec. Sc into the last 2 st.(18)
R6: sc into the next 6 st then sc dec. Sc into the next 7 st then sc dec. Sc into the last st. (16)
R7-11: sc in each st around (16)
R12: sc into the next 7 st. Make a sc into one of the st in one of the arms. Sc into the next 5 st of the arm. Sc back into the torso in the next st of the row. Sc into the next 7 st. Sc into a st of the second arm. Sc in the next 5 st of the second arm. Sc back into the torso. (28)
R13: Sc around (28)
Sew the crotch closed and bend one end of the wire. Insert the bent wire into one of the legs.
A couple inches from the top of the neck, bend the wire in half. Make sure that the bend doesn’t have a gap. You want the bend to be as small as possible.
Cut the wire a little bit longer than the second leg, bend the end and insert the wire into the second leg.
With a new piece of wire, bend the end and insert it into one arm.
Measure the wire and cut it just a little bit longer than the second arm. Bend the end and insert it into the second arm.
R14: Sc into the next 10 st then sc dec. Sc into the next 11 st then sc dec. Sc into the last 3 st. (26)
R15: Sc in the next 5 st then make 4 sc dec. Sc into the next 5 st then make 4 sc dec. (18) Stuff the torso
R16: Sc dec around. (9)
R17: Sc around. (9) Cut yarn and fasten off. Leave a long tail for sewing.
Attach the eyes to the head between rows 11 and 12 with them being 4 st apart.
With one strand of embroidery thread, make the eyelashes and eyebrows.
Color on a piece of paper with the pastel pencil. Use a q-tip to pick up the dust and add color to the cheeks.
Sew the head to the body by first inserting the extra wire through the beginning magic ring. Then sew on the scalp part of the way, stuff the head, then finish sewing up the rest of the way.
Cut hair strands 14 in long.
Attach the hair by first sticking your crochet hook through one st of the scalp.
Hook a strand of hair in the middle of the strand
Pull through
Pull the hair through the loop.
Then tighten the knot.
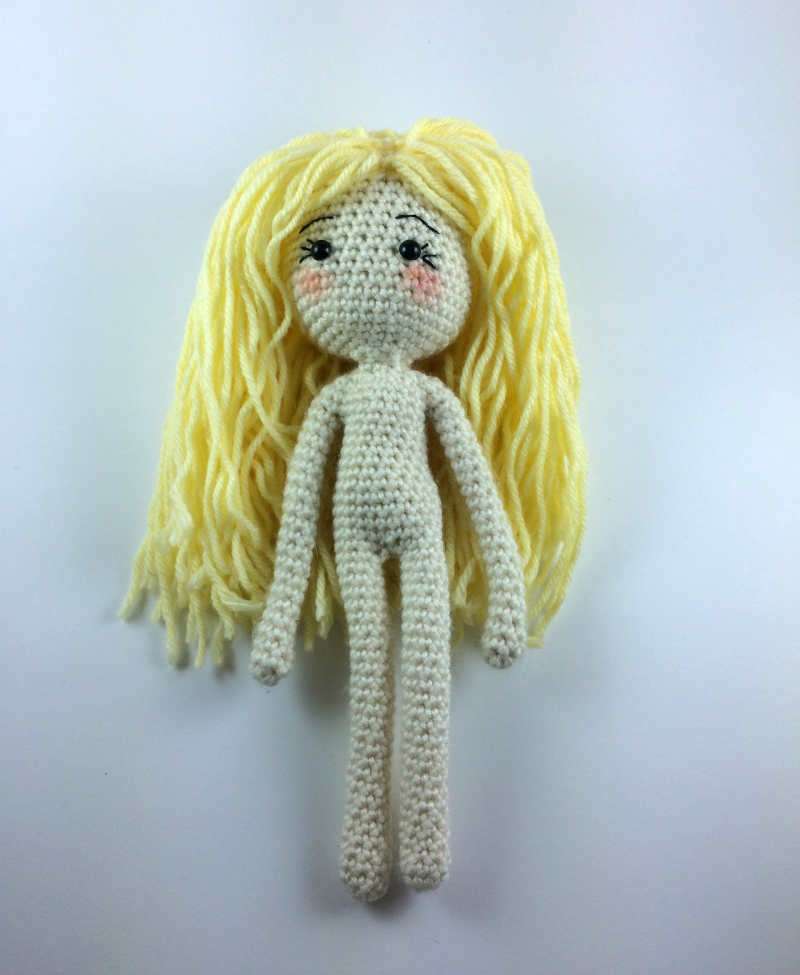
You will be attaching hair in every st around the outside of the scalp and in every other st on the inside of the scalp. After you have attached the hair, make a part and attach more hair where it is needed.
And you’re done making your crochet doll!
You can get the clothes patterns here:
(I will be adding more clothes later)