This post contains affiliate links. That means I may earn a small comision if you click on a link and purchase something. This cost you nothing. Read all the legal boring stuff here..
I love making things out of paper.
Paper is very cheap unlike vinyl and you can do so much more with it.
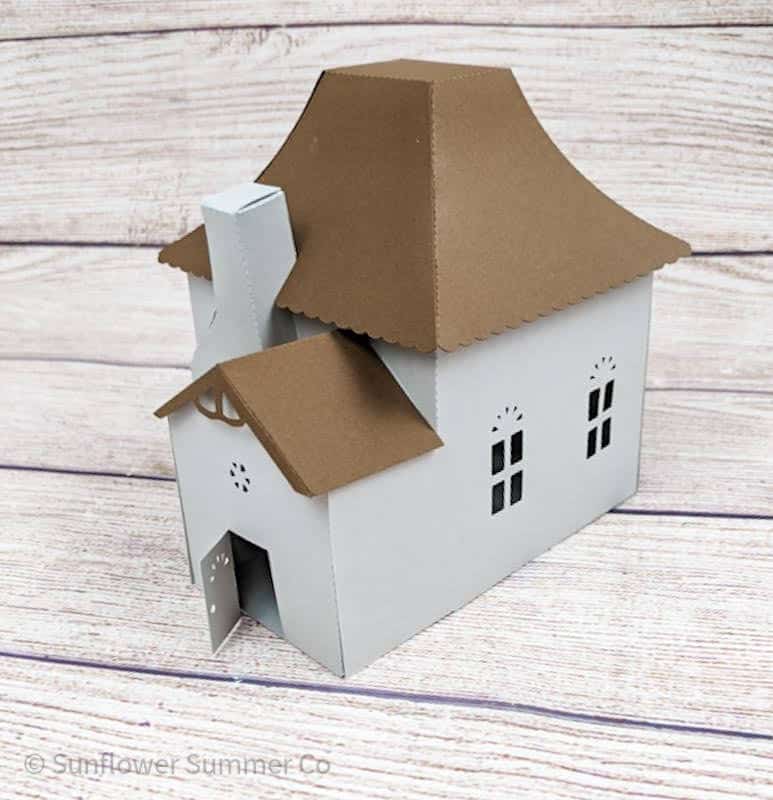
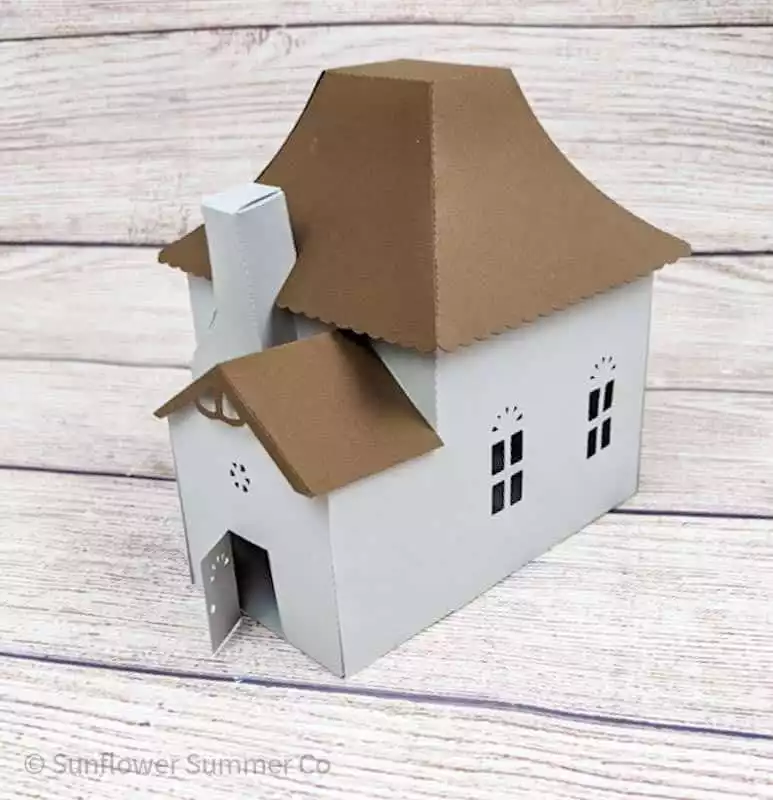
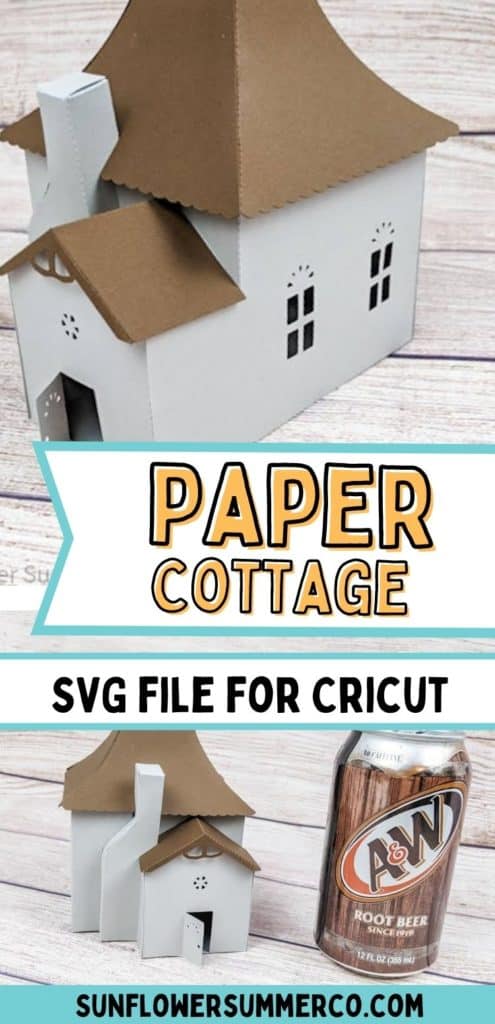
I really enjoyed making this 3d paper cottage and I plan on making many more little paper houses for a whole village.
Eventually, I would love to have a whole Christmas village.
This 3d paper cottage is super cute, but it’s also really easy to make. You only need paper, glue, and a way to cut it out.
Cutting this by hand will work for the building itself but the windows will not be easy.
You can
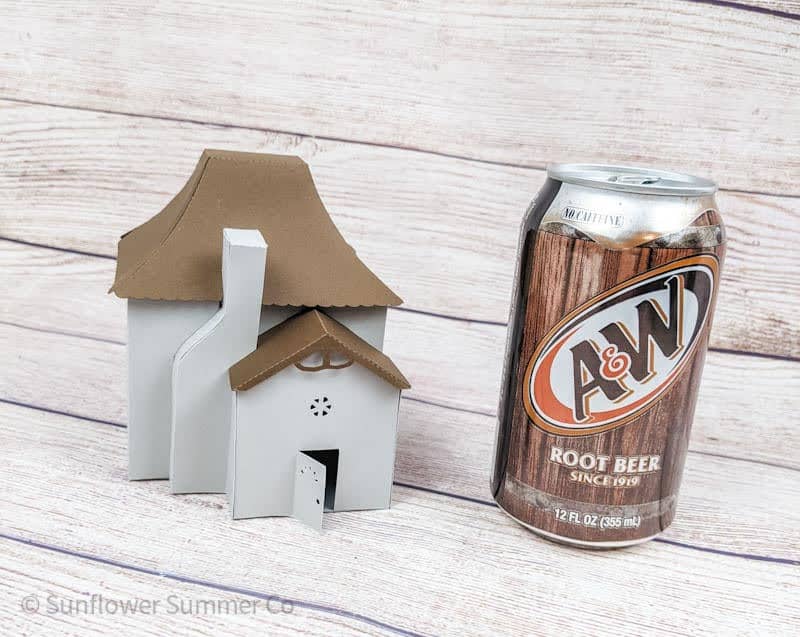
If you have kids like I do, they will love playing with this tiny paper house. It’s the perfect size for their little hands.
My daughter has already claimed one of these 3d paper cottages as her own and she loves it.
Materials:
Micheals 60 lb Cardstock
Silhouette, Cricut, or scissors
Optional:
Step 1: Cut out the 3d paper cottage
Cut out the template with your cutting machine. Use gray for the body of the paper house and brown for the roof.
Step 2: Start folding the score lines of the largest wall piece.

Fold all the score lines in except for the one circled. This will be folded in the other direction.
Step 3: Start gluing the tabs on your paper house

Glue the corners of the house together. I like to use a paintbrush because it makes it easier to apply the glue where I want it.
Step 4: Start gluing the chimney together

Fold the bottom of the chimney this way.
Fold the top around to form a cube-ish shape.
Step 5:Attach the Chimmy

Step 6: Attach the other side of the paper cottage


Step 7: Make the main roof


Line up the edge with the fold or the tabs and glue.

Step 8: Glue on the roof

Glue all the tabs on the top of the house. The cut-out on the roof will go around the chimney.
It is really hard to get your hands in to make sure the tabs connect with the roof so I use a pair of scissors or something longer to push them up to touch the roof.
Step 9: Form the second roof

I forgot to take a picture of the smaller roof glued together but you just fold down the center score line and glue the tabs.
Step 10: Add the second roof

There is a slit in the chimney where the second roof will slide into.
Step 11: Add the door


This 3d paper cottage is so easy to make and would be perfect for adding to your tea light village or just as a decoration for Christmas.
You can
Kids will love playing with this tiny paper house and it’s the perfect size for their little hands.
I hope you enjoy making this 3d paper cottage as much as I did!
You might also like:

