This post contains affiliate links. That means I may earn a small comision if you click on a link and purchase something. This cost you nothing. Read all the legal boring stuff here..
You just got your thunder Laser set up and you go to make your first engraving. But when you pull it out, you notice your engraving comes out with a double, unfocused image. The ghosting burry image was not what you were expecting. If so, you’re not alone. This common issue can be easily fixed by following the steps in this blog post.
The first thing you need to do is find the little metal card titled “Reverse Compensation Settings” that came with your laser. It will have a set of values on it you will need to enter into Lightburn.
As the laser head goes back and forth quickly, it takes time for the head to change directions and the software needs to know how long it takes so it can fire the laser at the correct time.
*First, make sure you are using mm and not inches or this will not work.
To enter the setting on the card, go to Edit>Device Settings and make sure “enable scanning offset” is on. Once done, you’ll need to click “add” to input your settings. Do this for each value.
*These values will vary depending on your specific Thunder Laser engraver so don’t use the values shown in my settings.*
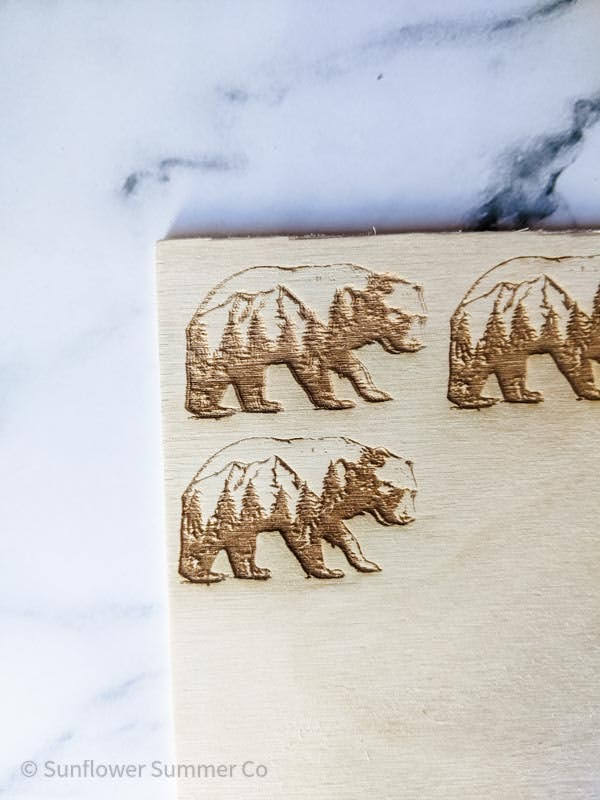
Once you’ve added the Reverse Compensation Settings, your Thunder Laser will stop engraving a double image. If you like this mountain bear image you can download it here.
I hope this blog post was helpful in explaining how to fix the double image issue on your Thunder Laser.