
This post contains affiliate links. That means I may earn a small comision if you click on a link and purchase something. This cost you nothing. Read all the legal boring stuff here..
Do you ever have the problem of not being able to get an orchid to bloom again? I know I do. I love how orchids look but once the flowers die, they are not the prettiest plant to have in your house.
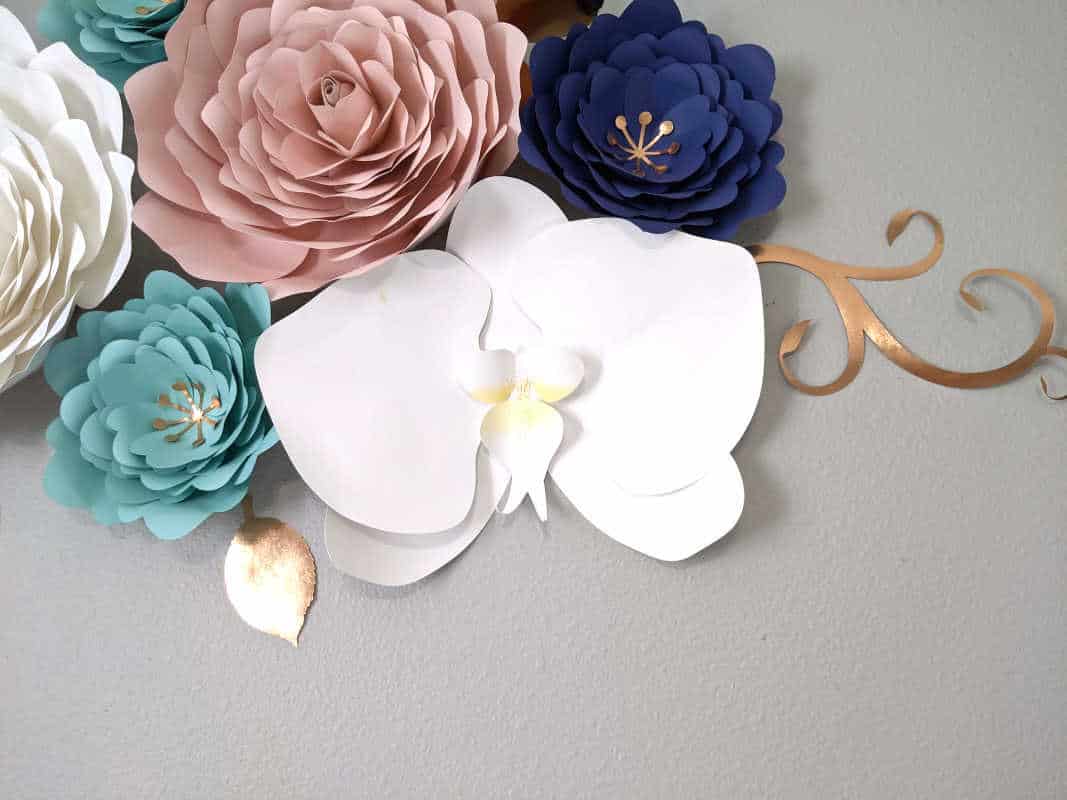
I haven’t seen many giant paper orchids and someone asked me to create one. I thought, “That’s a great idea!”
I already have a small paper orchid that you can create. Check it out.
Materials for the Giant Paper Orchid
- 5 pieces of cardstock
- Chalk pastels
- Scissors
- Hot Glue
- Paper towel
- Marker
- Cardboard or heavy cardstock (for the back of the flower)
Add chalk pastel to the center piece. Make it darker than you think you need it because it will lighten up when you hang the flower on the wall.
Add dots to the center piece of your paper orchid.
Fold the two top circles up and curl them.
Fold down the center and curl.
Make sure your two petals look like this when you curl them or you will end up with 2 right or two left sides of the flower.
Curl the edges of the petal up.
Then fold down the center. Don’t fold all the way down the center, only fold halfway.
Curl the back petals up.
Lay the bottom two petals out like this and glue the circles right on top of each other.
Glue the petals onto the 2″ circle for the back.
Glue the top back petal on.
Glue the front two petals on.
Glue behind the front two petals so they don’t flop forward when you hang it on the wall.
Glue on the front piece.