
This post contains affiliate links. That means I may earn a small comision if you click on a link and purchase something. This cost you nothing. Read all the legal boring stuff here..
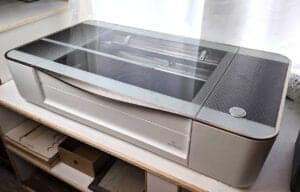
Cutting cardboard with my Glowforge is one of the things that I do the most. Cardboard is free and it can do some amazing things.
The first thing that you want to do is cut down the cardboard to fit in the laser bed. The laser bed for a Glowforge basic and plus is about 12″x20″. If you have a pro model, cut it 20” wide and however long you want. (if you can find a box that big ????)
Place the corrugated cardboard in the bed and let’s start cutting.
*Warning*
The first thing that you need to know about cutting cardboard is that designs with cut lines that are close together do not do well. The cardboard will start to burn and curl up so be sure to watch carefully.
This isn’t so bad when one side of the cut has time to cool off. If you were to cut out this unicorn really tiny, the horn and tail hair would burn because the Glowforge would make one cut right after the other.
Like the unicorn? You can buy it here.
Cutting Corrugated Cardboard
The setting for cutting cardboard are-
Speed 160
Power 75
This is a good starting place but you can change the settings to get a better cut with your laser.
Engraving Cardboard

The setting for engraving cardboard are-
Speed 1000
Power 25
You won’t get a nice dark engrave but you will get an impression.
Scoring Cardboard
Scoring cardboard can be very useful if you are wanting to have a bend in the cardboard.

Settings for scoring cardboard are-
Speed 500
Power 50
When scoring, have the score lines parallel to the corrugation. If they are perpendicular, the cardboard will not bend.
Now you know how to cut cardboard with your laser printer so get cutting! :)
You might also like:
Adding Multiple Design to Glowforge App